使用 GitHub Actions 構建 Hexo blog
發布於 3 年前
前言
由 GitHub 所推出的免費 CI/CD 工具 —— GitHub Actions 上線一段時間了,之前一直想學,卻總是騰不出時間。
正好網誌需要一個好的構建環境(之前用的 Cloudflare Pages 內建,太慢了),於是就自己寫了個 Workflow 用來構建(網路上的輪子用著不舒服,還是自己寫好),總算是把這個坑給填了。
過程盡量會詳細點,不懂的部份歡迎留言區詢問 Owo
準備
- 一個有 SSH 環境的 Linux 系統(可以是 WSL)
- 一個有 Hexo 網誌原始碼的 GitHub 儲存庫
- 非常基礎的 GitHub.com 操作知識
過程
設定構建用 SSH 金鑰
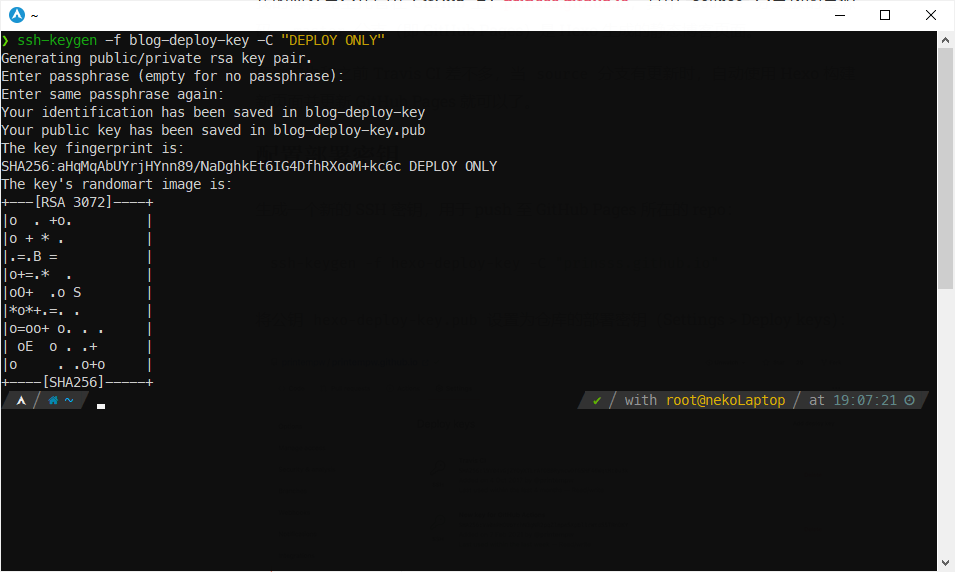
在 Linux 下執行指令: ssh-keygen -f blog-deploy-key -C "DEPLOY ONLY",像這樣:
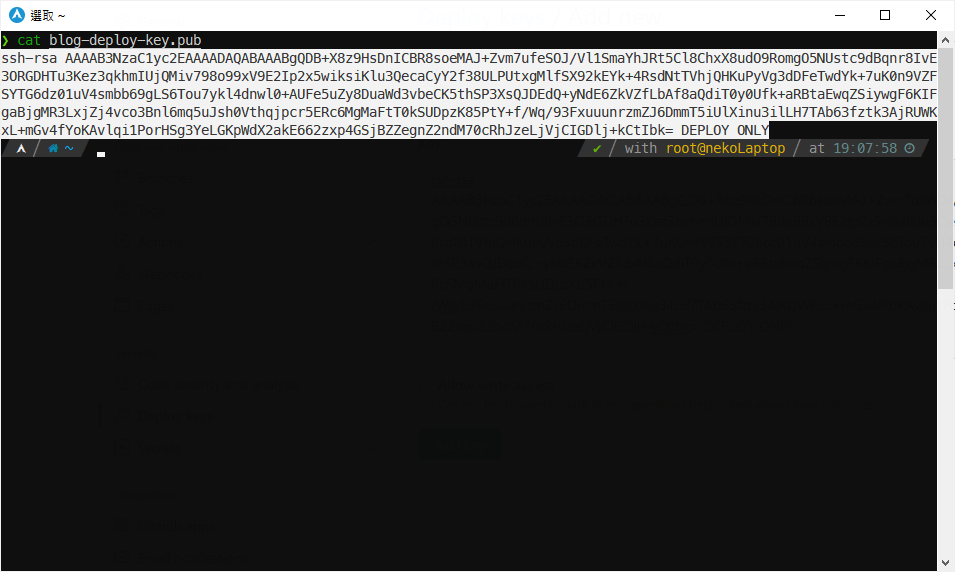
執行 cat ./blog-deploy-key.pub,複製輸出的 SSH 公鑰:
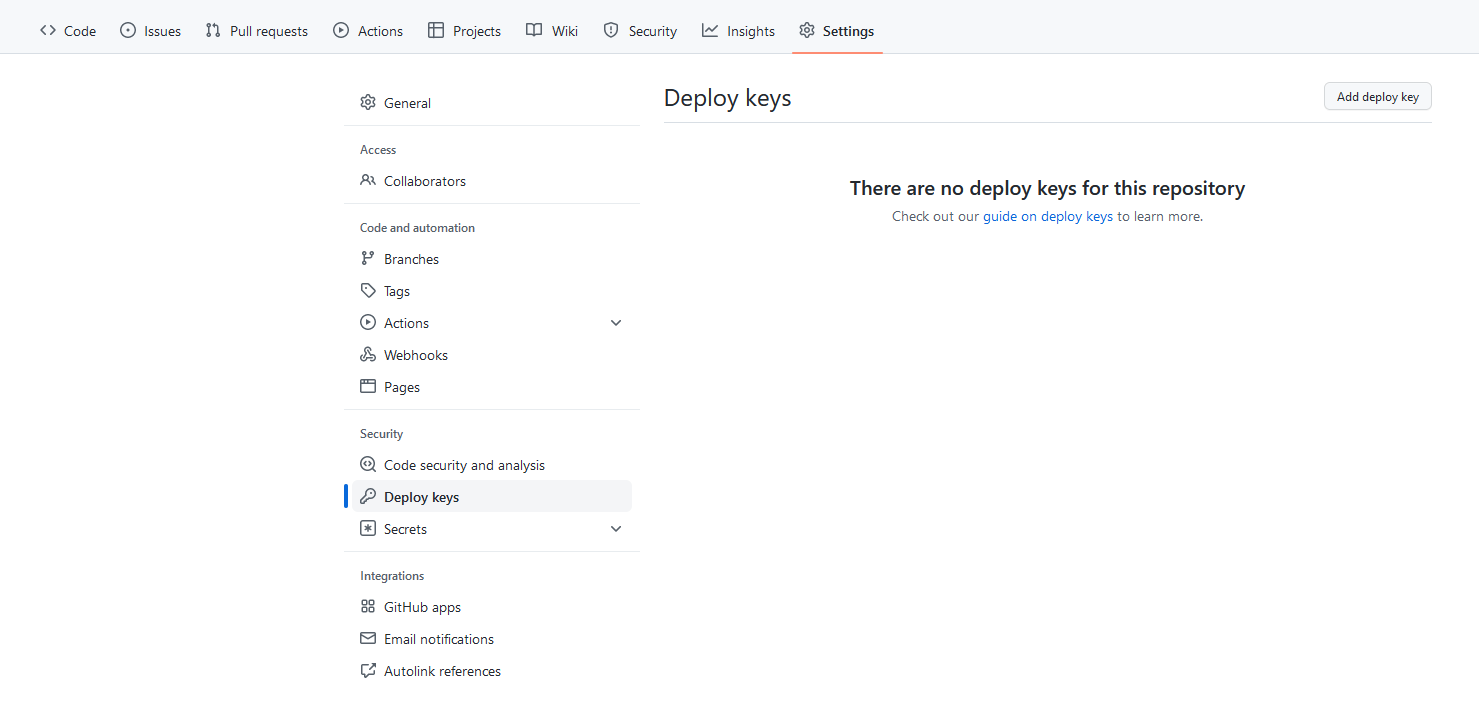
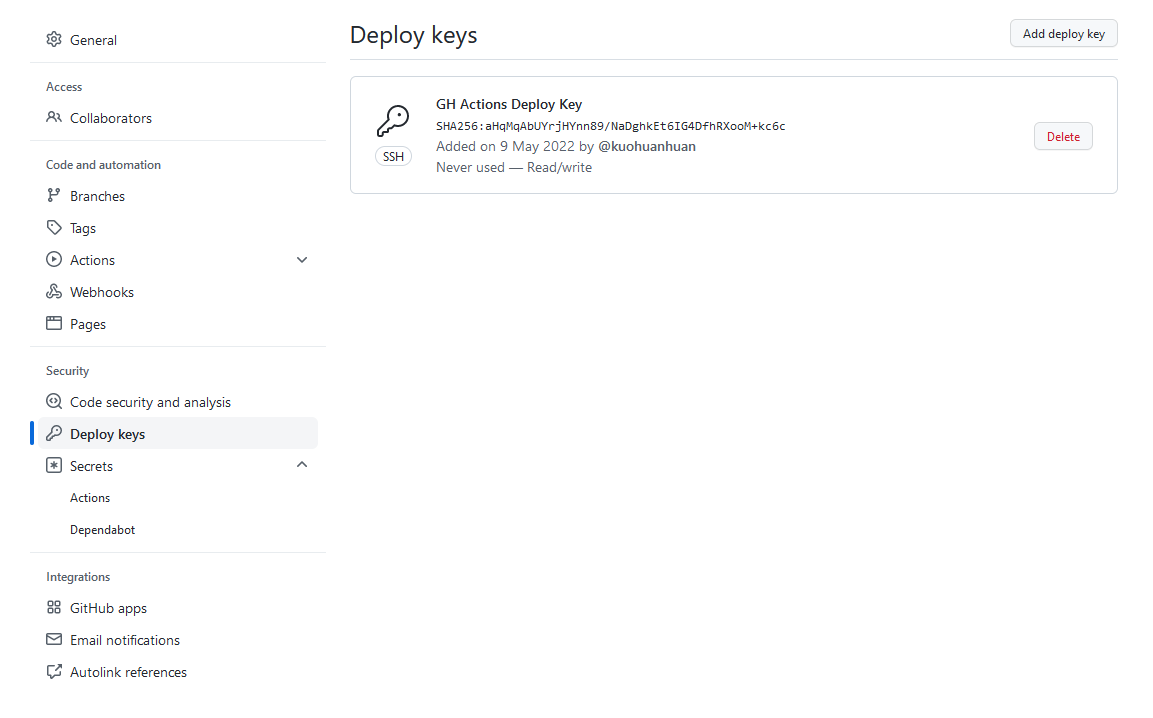
進入存放網誌原始碼的 GitHub Repo -> Settings -> Deploy Keys:
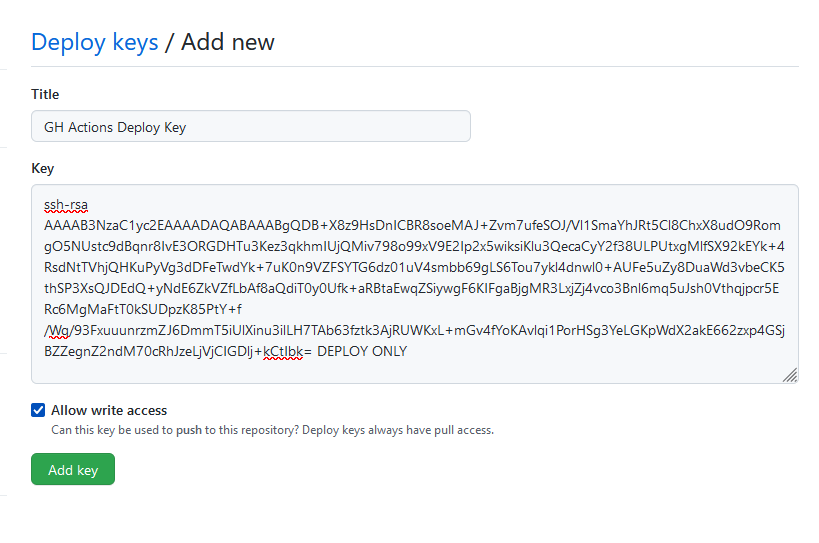
點 Add Deploy Key 按鈕之後貼上剛剛複製的公鑰,兩點注意:
- Title 填
GH Actions Deploy Key即可 - Allow Write Access 選項記得打勾!
填起來大概長這樣:
點 Add Key 完成:
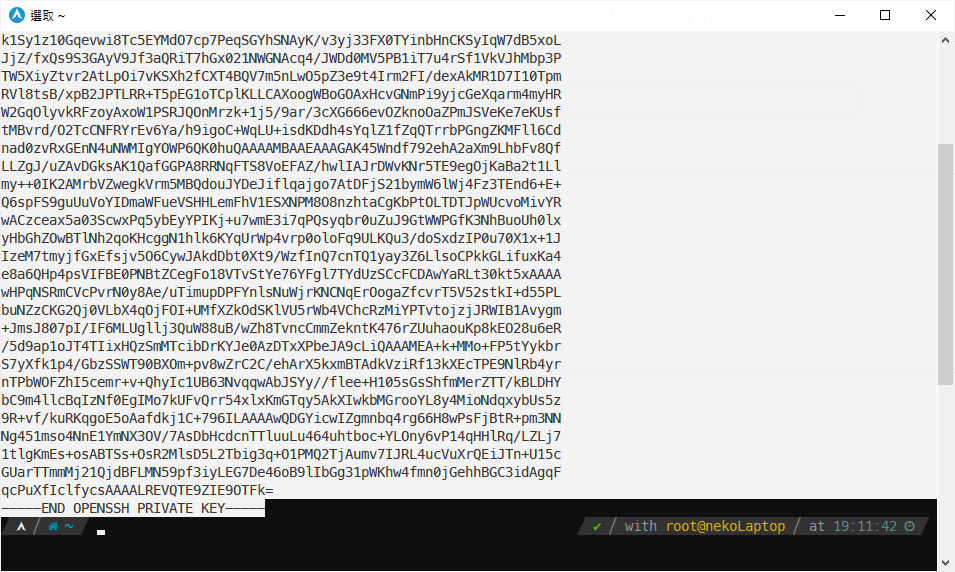
到剛剛產生 SSH 金鑰的 Linux 系統上執行 cat blog-deploy-key,複製:
進入 Settings -> Secrets -> Actions:
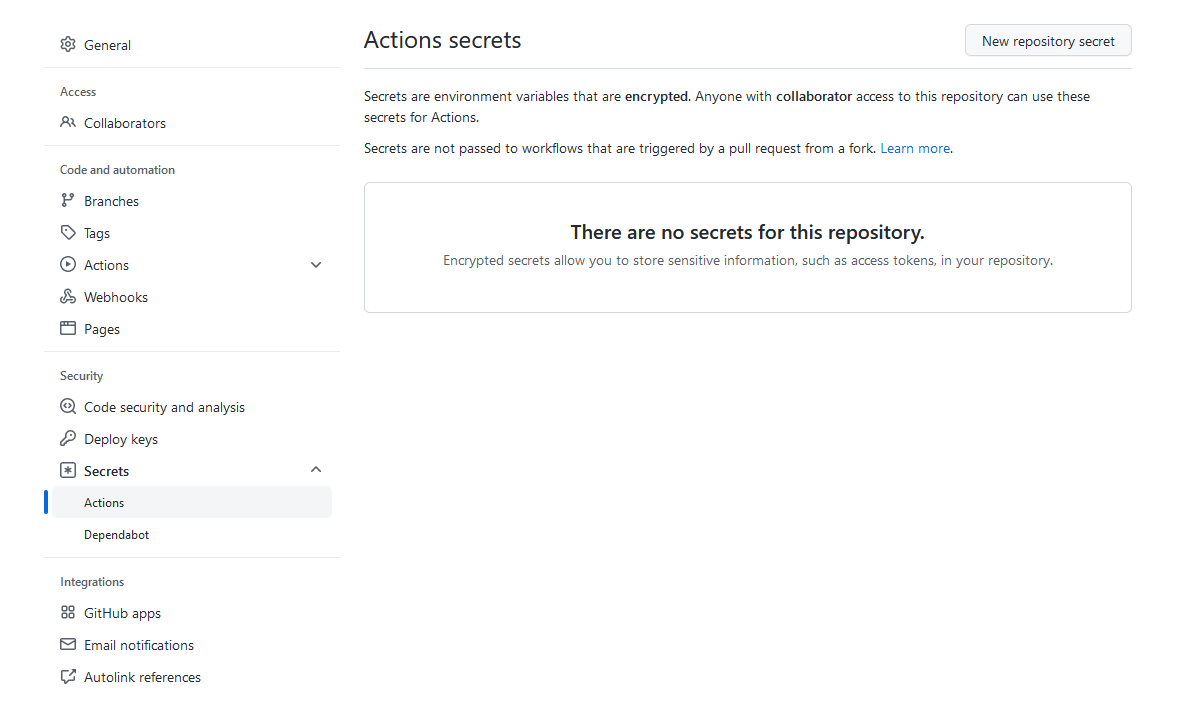
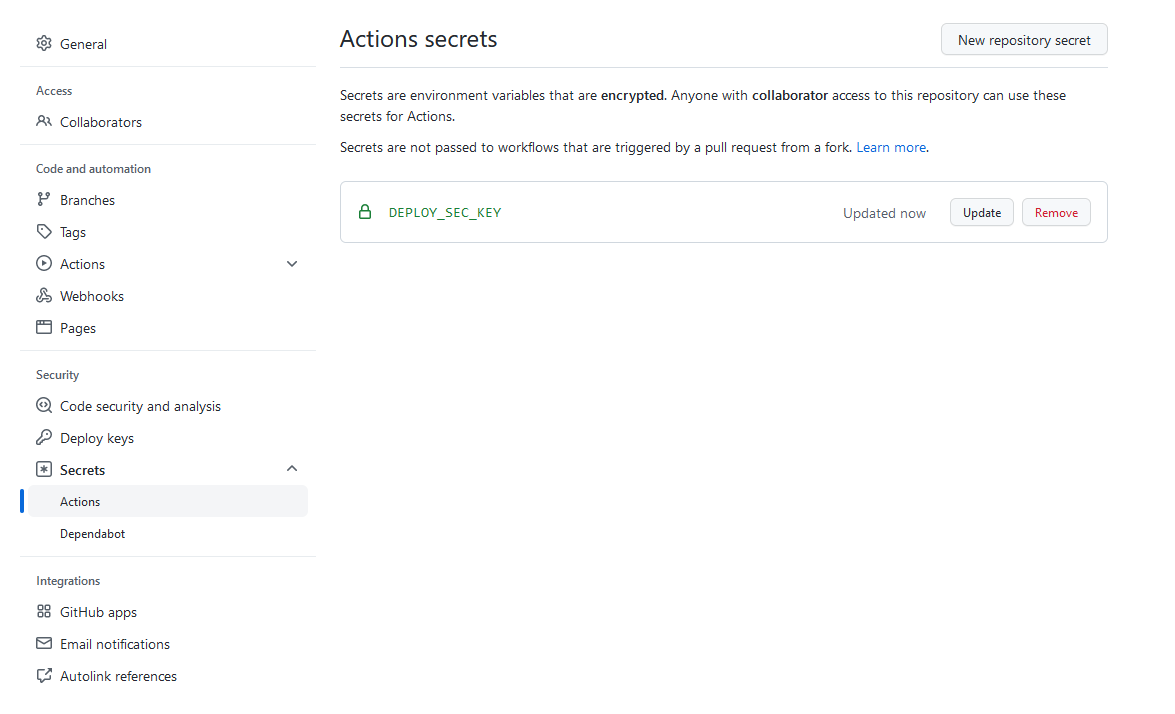
點 New Repo Secret 按鈕之後貼上剛剛複製的私鑰,Name 輸入 DEPLOY_SEC_KEY:

點 Add Secret 完成:
設定 GitHub Actions
複製我寫好的 Workflow 原始碼:
進入 Actions 分頁:
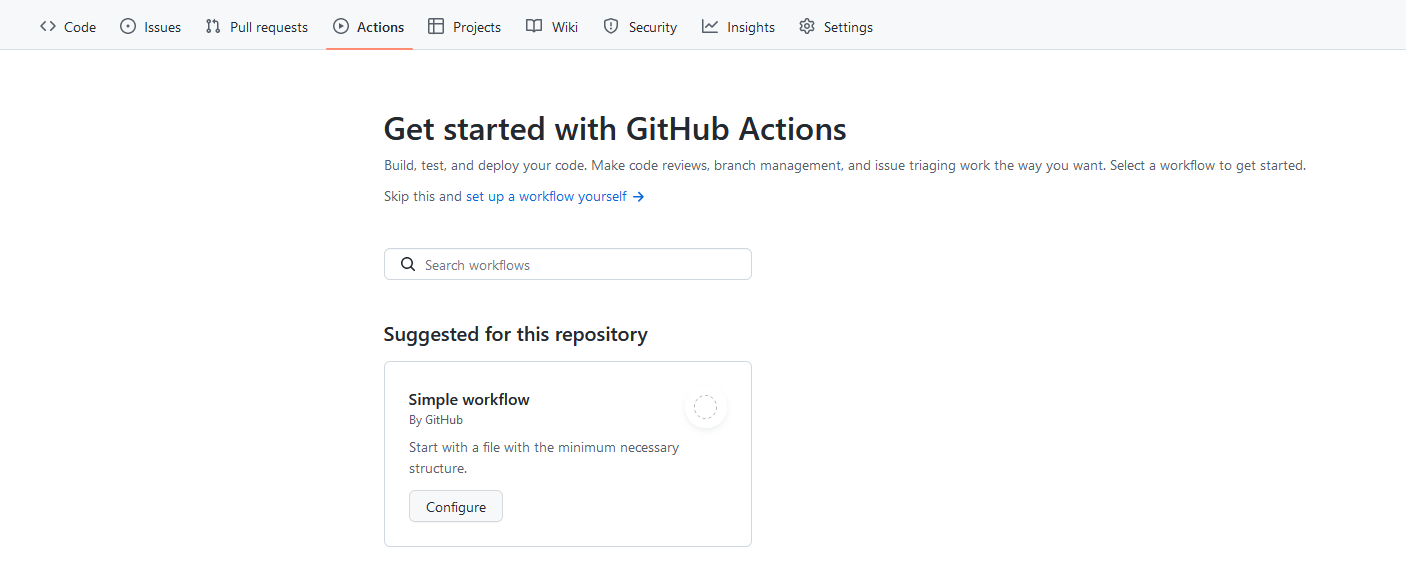
點選 Set-up A Workflow Yourself 按鈕,執行以下四步:
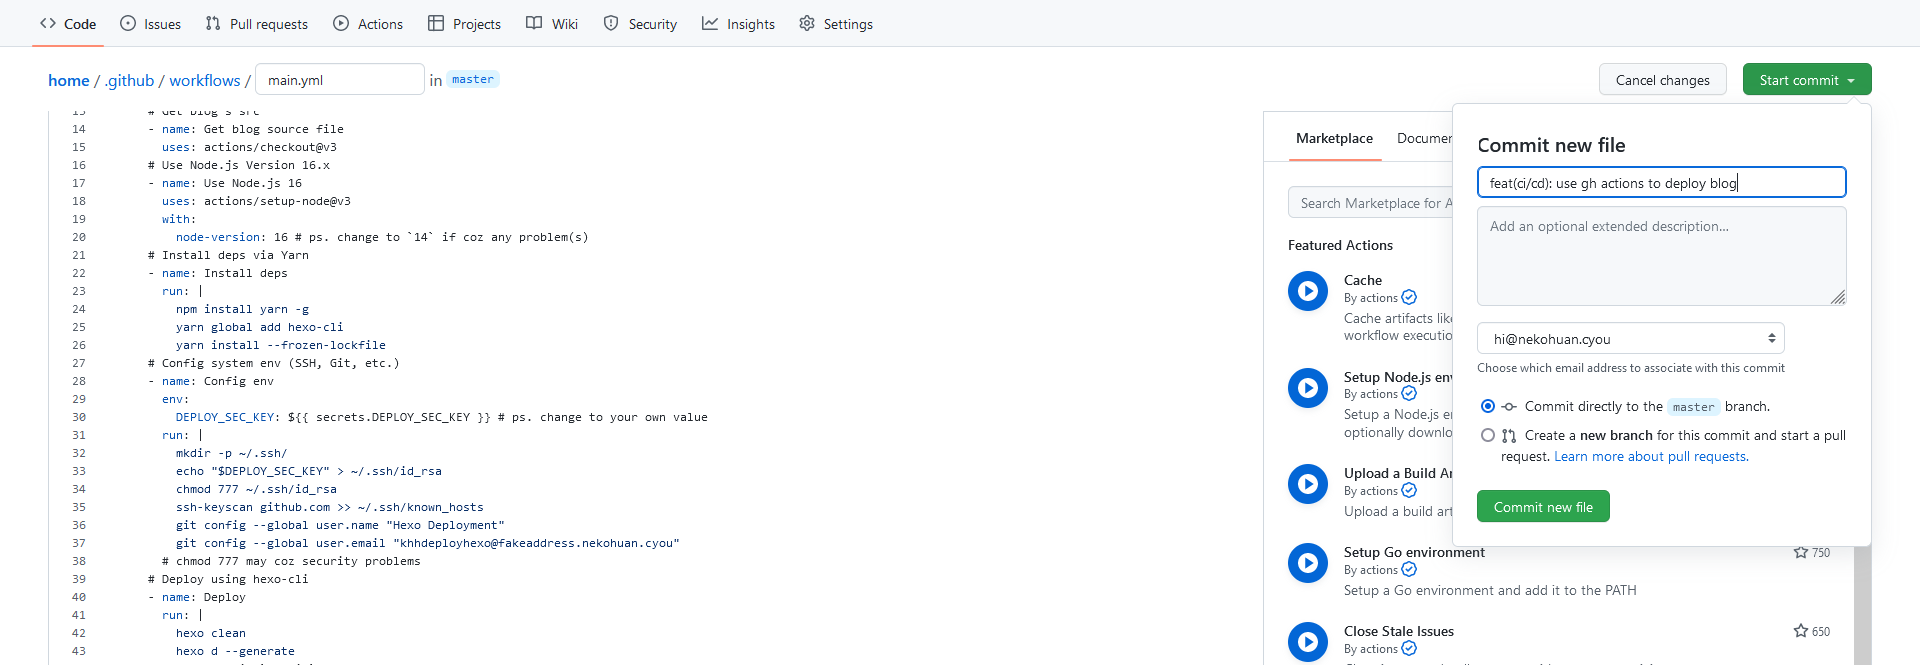
- 貼上原始碼
- 點 Start Commit 按鈕
- 貼上 Commit Message:
feat(ci/cd): use gh actions to deploy blog - 點 Commit New File 完成 Commit
回到 Actions 分頁,點擊正在執行的(或者最新的那個)Workflow:
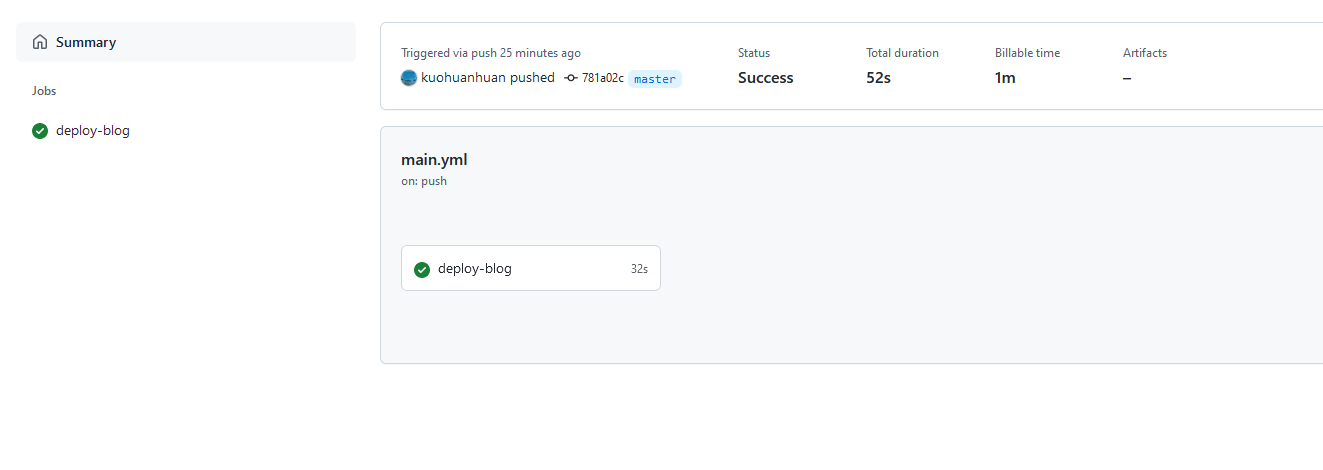
點 deploy-blog:
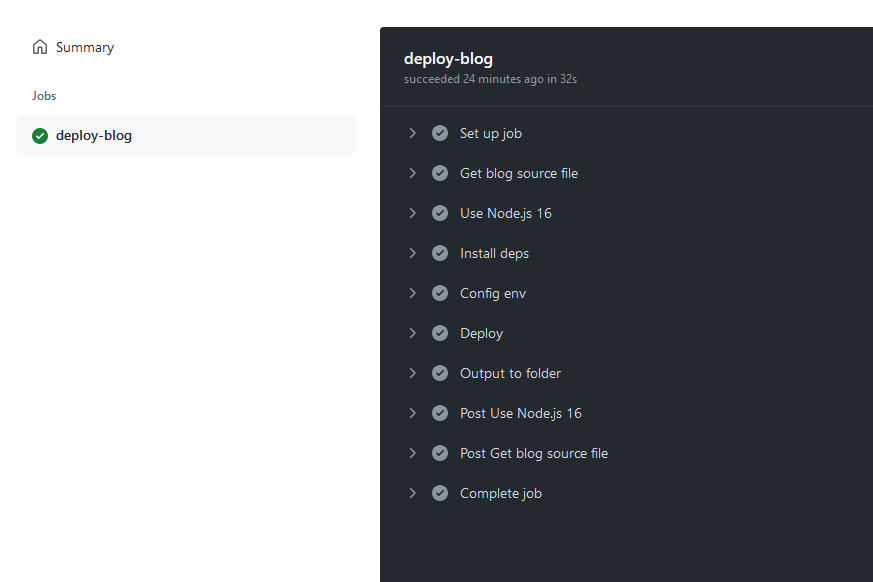
出線上圖中的全部打勾就成功了!
使用
回到儲存庫的 static 分支:
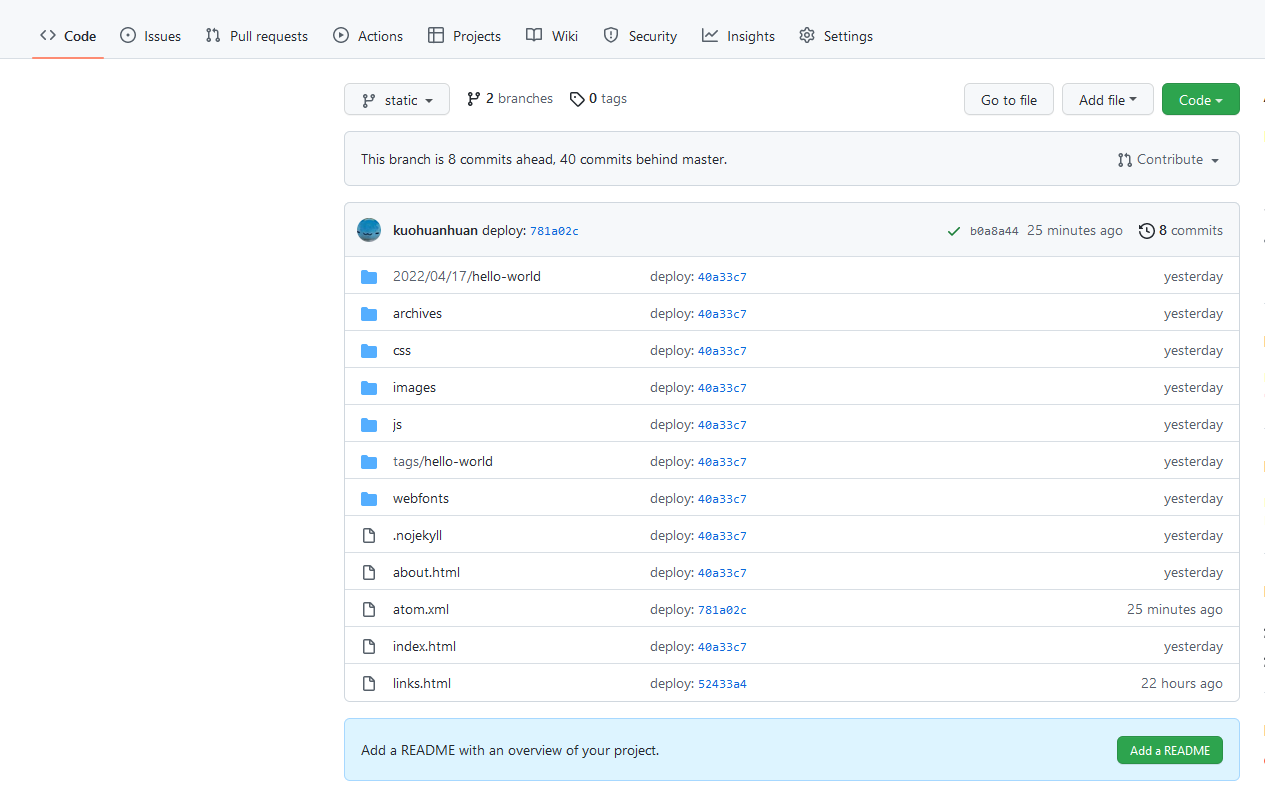
設定 GitHub / Cloudflare Pages 直接使用根目錄的檔案即可。
結語
這次 DIY GitHub Actions Workflow 算挺成功的,之後會再鑽研得深入點(技能樹 +1 總是好的)
上面的 Workflow 原始碼如果使用上有任何問題,請留言或私訊通知,感謝~!